I replaced nearly all the turf grass with drought-tolerant plants suitable for North Texas. If you want to the most environmentally friendly thing which also happens to be the cheapest and best for your soil, you can simply smother your lawn by putting covering it with newspapers and then mulch. To get going quicker we paid some landscapers to come and trim the grass down to the ground then cover it with weed block, then mulch. You can buy mulch by the bag from your local garden center or big box hardware store, but you’ll probably want to find a place where you can buy it by the cubic yard; if you do the math it will likely come out much cheaper to spend $40 or so per cubic yard vs. buying by the bag. We went to Whiz-Q Stone and paid for them to deliver some nice cedar mulch.
If you already have a irrigation system with a bunch of sprinkler heads you can retro-fit it for drip by taking out the sprinkler heads, capping some off and replacing others with converters.
But you can’t just untwist those heads and attach the tubing because of water pressure concerns. You need a way to regulate the water pressure. There are different ways to do this and different kits, but after looking into the different options I came to to the conclusion that the easiest, most cost-effective way for me to do it myself without a lot of plumbing hassles was to use Rainbird’s 1800RETRO kit.
Each one of these costs about $20. But before you start doing the math consider that you don’t need a one-for-one replacement of your existing sprinkler heads. Most of those can simply be capped off as I’ll explain soon. The kit comes with the converter head, which looks very much like a regular sprinkler head except it has a fitting at the top that allows you to attach 1/2″ dripline. It’s also important to point out that although these converters are Rain Bird, they can be used to replace other spray heads with half-inch attachments. For example, almost everything in my irrigation system was Hunter, but this converter attached just fine. At the time I looked I didn’t see any comparable products from Hunter or I probably would have been tempted to use those instead.
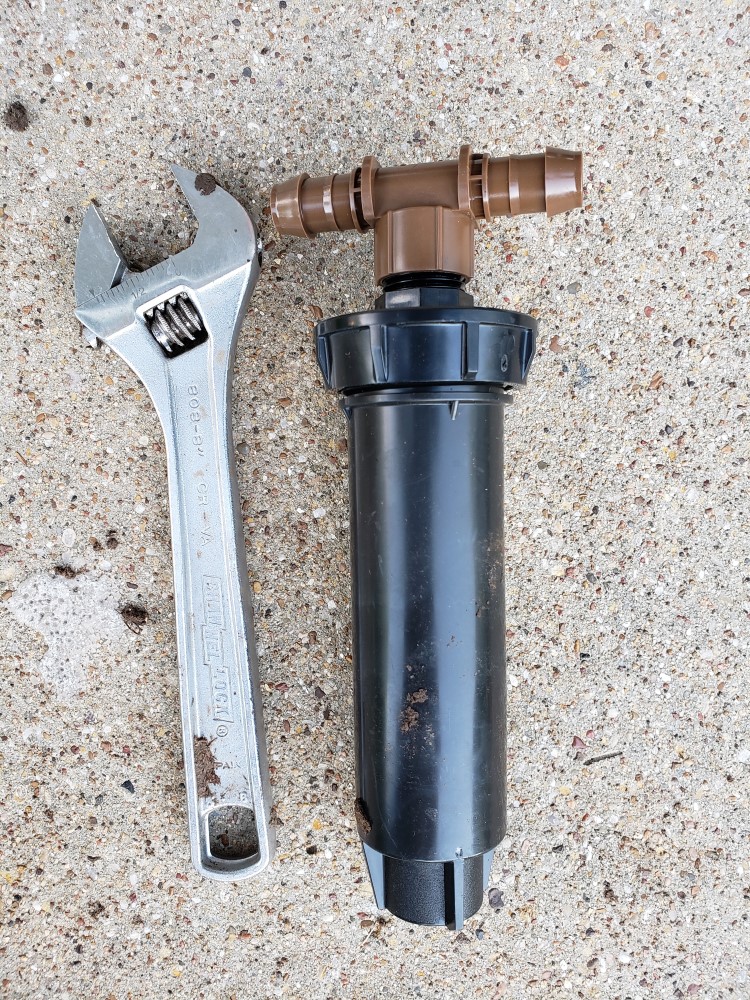
This photo above shows a T-shaped fitting that allows dripline to be attached in two directions. The kit also comes with an elbow-shaped fitting that allows a single dripline attachment, so you can choose which works best for your situation. I used the wrench to hold the plastic nut in place so I could screw on the fittings tighter.
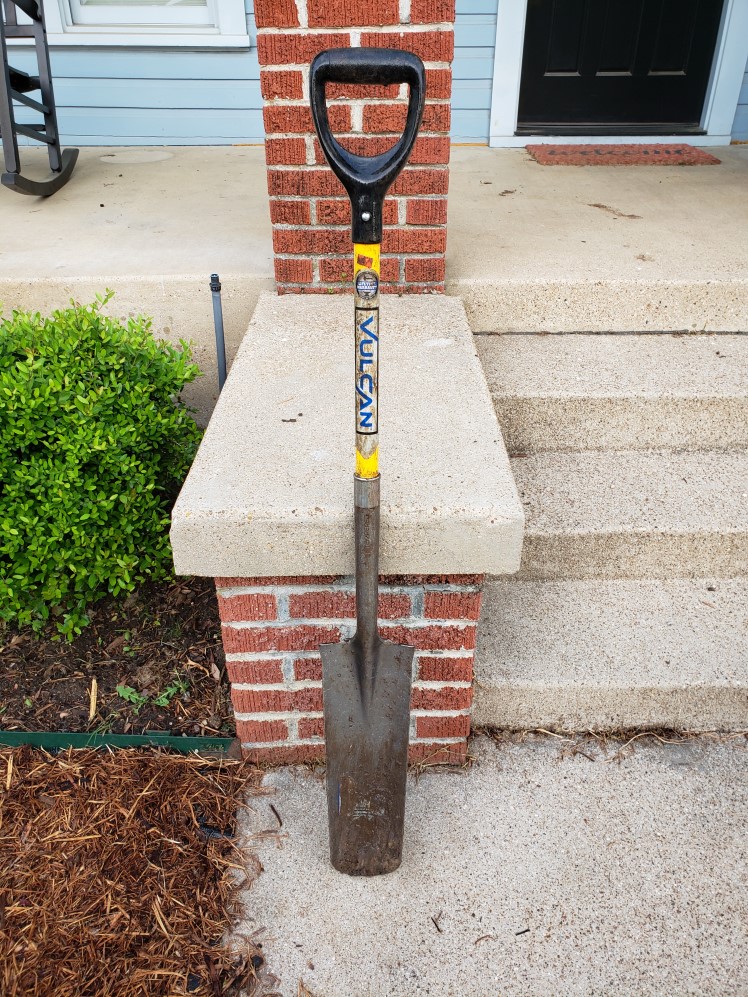
These narrow shovels are really useful to dig around the old sprinkler heads. You have to be careful not to damage any of the underground irrigation lines you might encounter when removing the soil around the spray head, but you’ll soon develop a feel for getting these things out with no fuss, no muss.
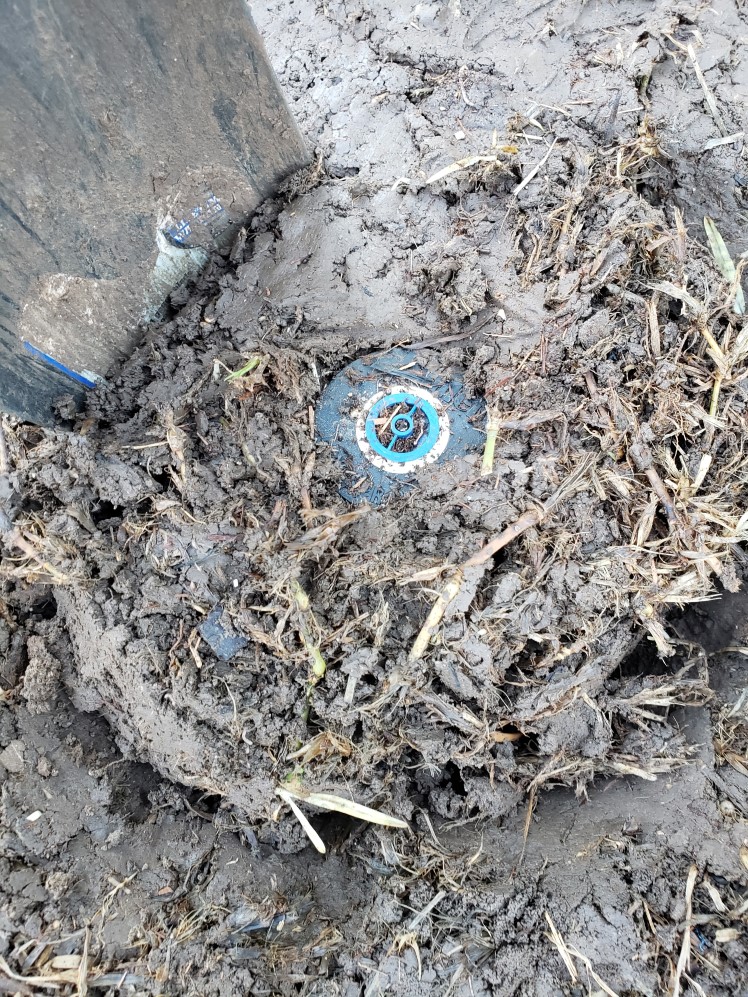
Don’t be tempted to just unscrew the sprinkler head without digging out around it. You will need some room in the hole to be able to screw in the drip converter cleanly without getting any dirt in the line.
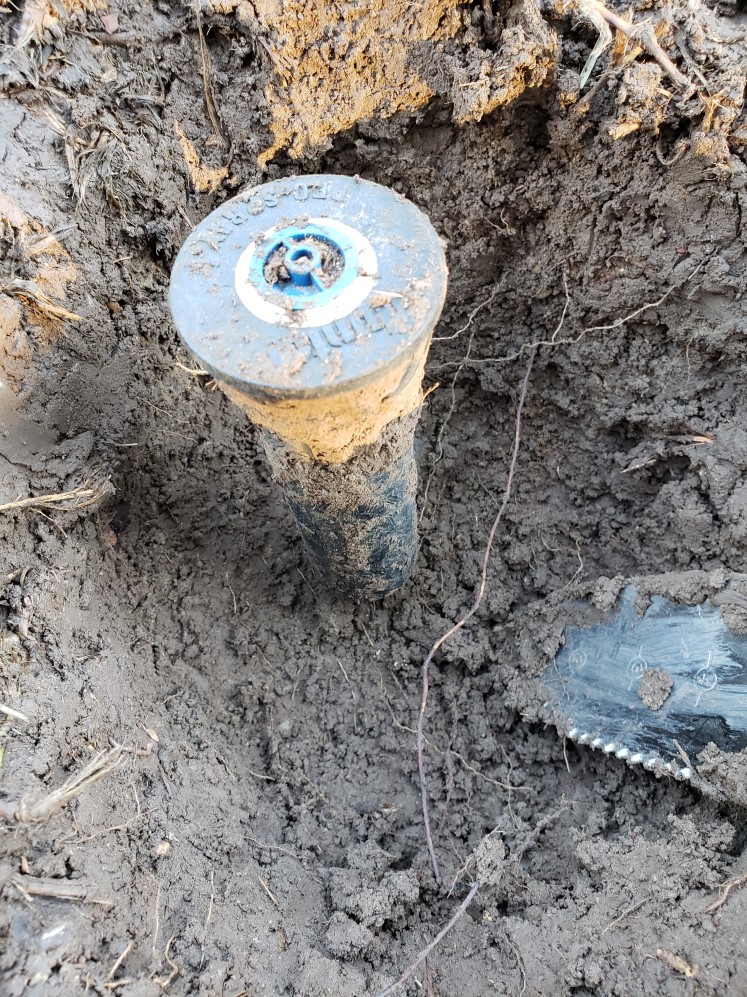
See how I made the hole just big enough to be able to work around in there. Use a smaller garden trowel once you’ve dug out most of the dirt. A small shovel allows you to dig all around the head and irrigation line without damaging anything. I use clawed gardening gloves to scrape out as much dirt as possible around the flex pipe that secures the sprinkler head. It doesn’t have to be perfectly clean but you do want to prevent a lot of dirt from clogging up your system.
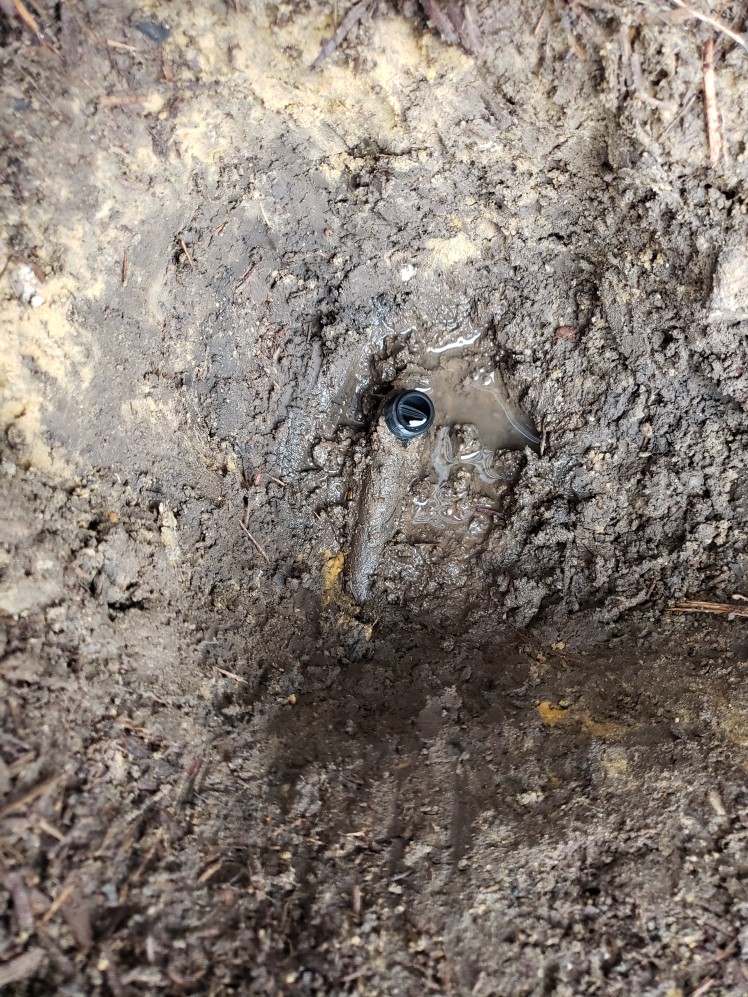
Make sure your system is off when you replace the sprinkler head – or you’ll have a geyser when you twist off the spray head. When you do twist it off you’re likely to get some residual water gush out that was in your line from the last time it was on. That’s ok – a little water pouring out will serve to rinse off the dirt around the threads, making it easy to twist on the converter head. See how clean the threads in the picture above look?
Now you just twist on the converter valve, making it very snug, but I didn’t need any plumbing tape around the threads to get a leakless fit. You should test for leaks before filling in the hole around the converter.

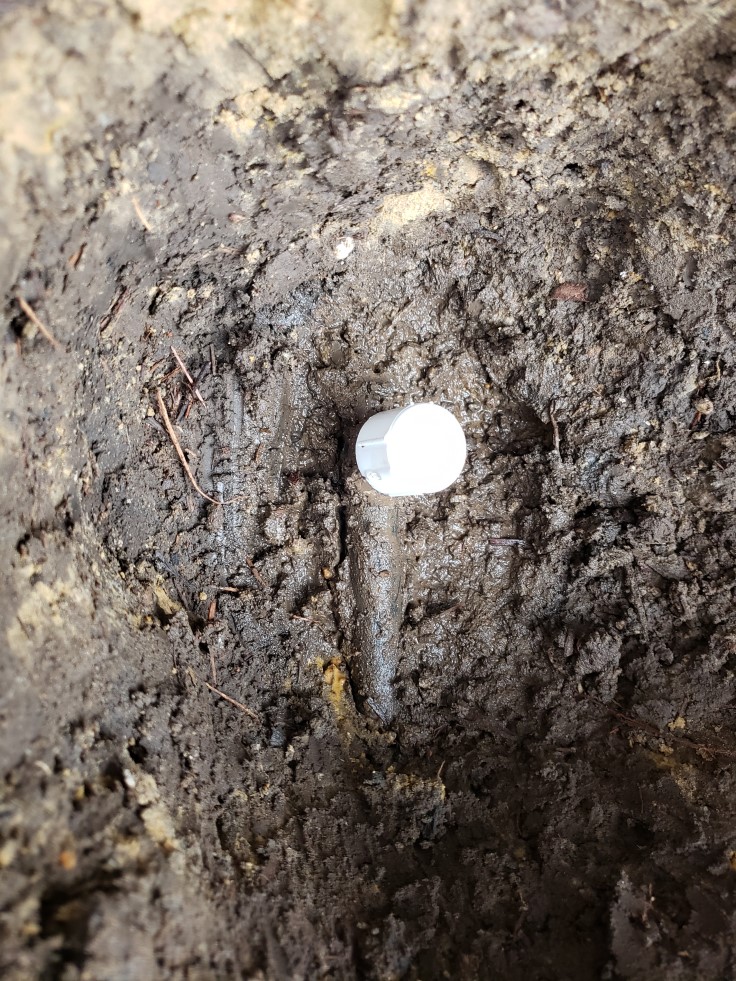
To test for leaks you would either have to attach your 1/2″ tubing to the included fitting OR temporarily seal off the converter valve with a 1/2″ threaded cap. You will need some of these caps for sealing off some of the removed sprinkler valves, like this:


Leave a Reply